Wintertime and cold weather pose their own particular challenges, discomforts and dangers and you need to know a few basics to make life easier and safer under the conditions these seasons offer for your outdoors life. This article collects advice that attempt to teach just this. Much, but not all the advice we have spread out over several earlier “quick tip” installments, but here they are collected in a single article. These things are of course particularly important if you plan to hike alone or with children.
Cold weather dressing
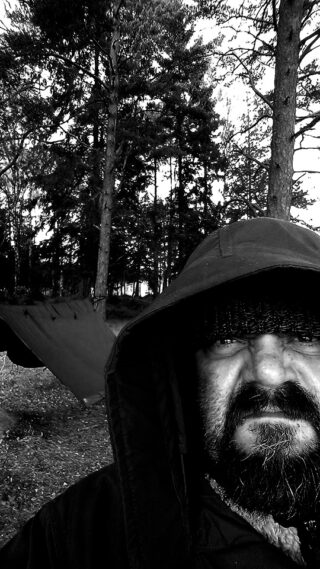
Some grumpy old fart with tears in his eyes from some harsh and cold late autumn winds. Dressed according to the multi-layer principle, with merino wool underwear, a fluffy mid layer with high collar for insulation and an outer windproof shell. Also a loose and folded shemagh and a wool cap for great warmth.
The multi-layer principle is a simple method for dressing so you are dry and warm as much as possible when outdoors. Generally speaking you should dress losely in several layers and avoid compressing the fabrics or have them pressing hard against your body.
The first layer, the base layer, is the layer the nearest to your body. It wicks away sweat and is very important as moisture will otherwise cool you down. This layer is fairly thin. Avoid cotton and rather use merino wool or synthetics, including for your underwear.
The second layer, the insulation layer, transfers the moisture outwards and stores hot air thus keeping you warm. It is not the fabric itself that keeps you warm, but the hot air, and the fabric needs to be loose to be able to do so. This layer needs to be adapted to the temperature and the activity. Little activity or more intense cold requires warmer insulation. Fleece or wool is good for this, but wool is more fire resistant and keeps you warm even when wet and is therefore a better choice. Zippers are good as that lets you regulate the heat depending on the temperature and activity.
If it gets really cold you will need to bring along some thicker insulation for your lower body too. This is too often ignored.
The third layer, the shell, protects you from wind and rain & snow and can be quite thin, but should be strong and durable. This layer has to be able to release the moisture or else it will be captured inside, cooling you down. Some modern materials work less well in colder temperatures causing just that.
Ventilation openings in the armpits or chest is good, but a centre zipper will often suffice. Zipper-less anoraks are less good for activity.
Remember to also wear a good wool cap, a loose scarf, e.g. a shemagh folded multiple times as in the picture, suitable gloves and two pairs of socks with boots that don’t press too hard on your feet so you don’t hinder your blood circulation, thus causing cold feet.
Keep in mind also that you need to dress differently for activity vs inactivity, and thus have to bring along extra insulation for the latter.
Skin fat, fat & washing
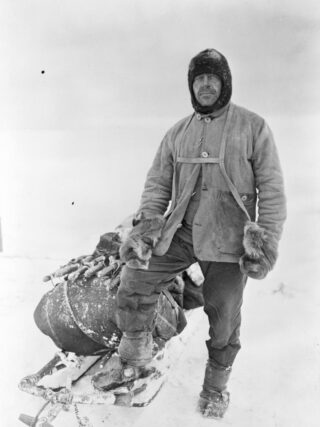
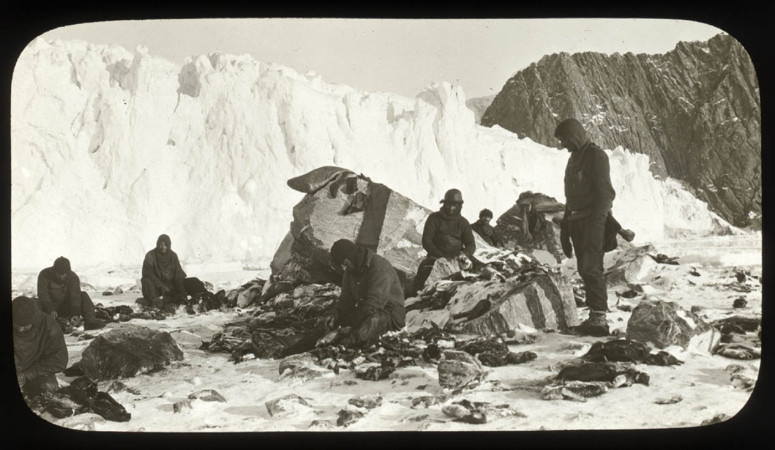
Cpt. Robert Falcon Scott, leader of the Terra Nova polar expedition of 1911-13, dressed to expose as little skin as possible to the extreme polar cold, covering the ears that otherwise will have blood circulation cut off.
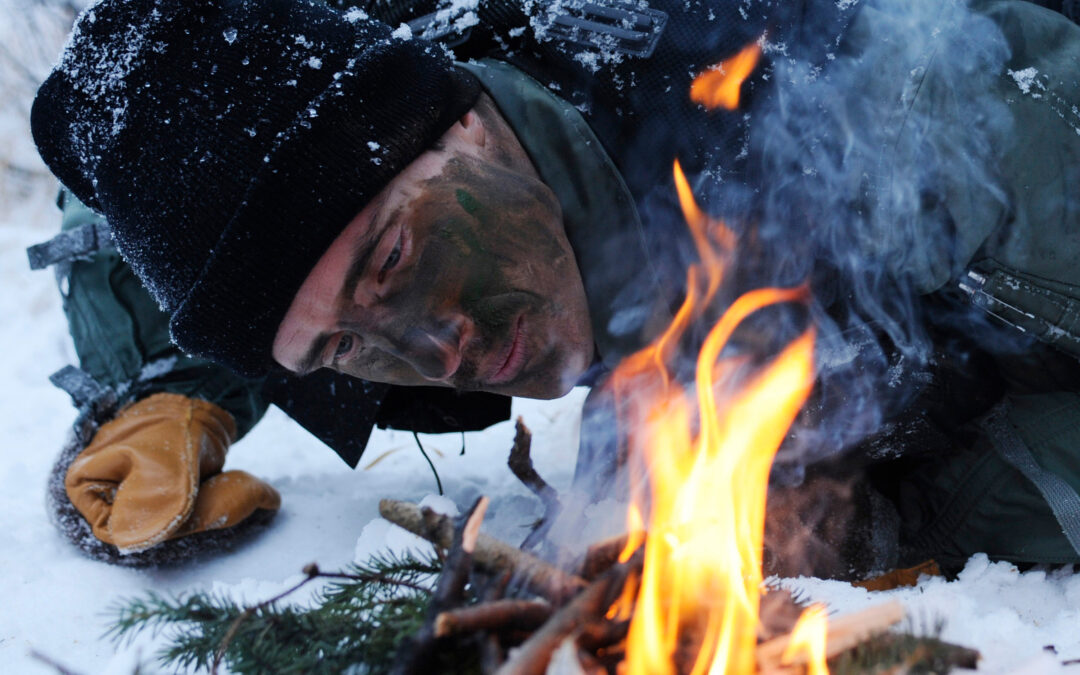
Do not wash your face or body with soap shortly before you expose yourself to very cold weather. Your skin fat protects you from the cold and washing it away naturally is a bad idea therefore. So wash and shave yourself the day before instead. When out, only clean your exposed skin minimally. Make sure to keep your skin dry and clean as much as is possible though.
Body fat also helps you keep warmer, but needs to be combined with a good level of fitness to work properly. Also, it needs to be subcutaneous, underneath your skin, over the whole body, not just a beer belly or viscerally, around internal organs.
Some parts of your body naturally doesn’t store much, or any, fat at all, like fingers, toes, ears and nose, and in extreme cold your body will shut those off from full blood circulation, maintaining heat at your core and your internal organs. For that reason you will need to be extra watchful of such extremities, not least since some of those also tend to be more exposed to the cold.
Moving and exercise will also keep you warm and is something you can use before going to bed when outdoors, if it is expected to get a bit chilly: Exercise a bit, without breaking a proper sweat and then go to bed, and you will feel and stay warmer longer.
Frostbite
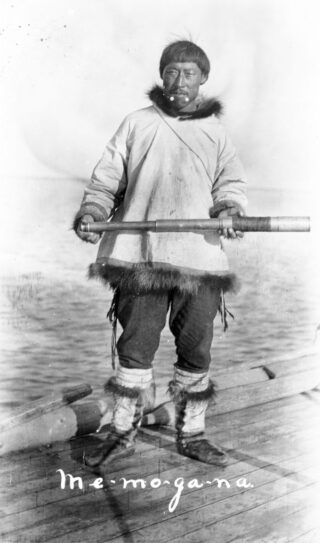
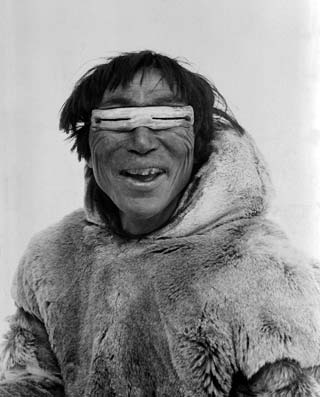
Inuit with the fur worn on the inside for proper insulation.
Frostbite is a very real danger in colder temperatures and can cause permanent injury and loss of limbs. The early symptoms are pain, itching, numbness and “white spots“. More grave symptoms are blisters.
Several things can cause frostbite. Cold temperatures is the root cause of course, but other things can raise the risk. These are
- Exposure to wind.
- Exposure to water or moisture
- Pressure against your body
The first two are normally easy to remedy with good clothing, but can be difficult in case of an emergency, in which case you need to cover yourself by improvised means (like using hay, stripping your car seats of foam and fabric etc). In case of emergency you will also need to seek some form of heat, in order to quickly regain your temperature.
Heat can be gained either from fire or similar sources, or through body heat, either crawling up into foetal position, or better, from “spooning” with someone else. Make sure to stay off the cold ground though, first adding some ground insulation like grass or branches. And body heat from others makes a huge difference. During my military service my whole platoon spooned at -36C, with noone happy to sleep at the ends of the broken circle that was formed in the tent. It was the standard procedure.
Also movement keeps your body temperature up so fight the impulse to sit down and rest if you feel very cold.
All these also work preventively.
Frostbite is divided into three different degrees, nip, superficial and deep. Noticing a frostbite can be tricky as the affected parts first go numb. Therefore you always need to watch yourself as well as your friends at colder temperatures.
Treating frostbite is ideally done skin-on-skin, without massaging as that can cause tissue damage. Hands and feet are ideally placed into your own or someone else’s armpits.
Do not put a person suffering from hypothermia into hot baths or under a ton of blankets near a fire. That can cause cardiac arrest as hot blood reaches a cold heart. Movement and careful reheating is needed. Warm, not hot, water is ideal.
The third cause, “pressure” is a commonly missed cause, wearing tight-pressing boots that limit your blood flow. Make sure to loosen them up and keep your blood flowing so it can bring oxygen to your skin.
Likewise, also make sure to wear clothes that are loose enough to catch air inbetween your body and the outer wind/rain protection, following the multi-layer principle for dressing, like the Inuit man in the image, wearing the fur on the inside, not the outside.
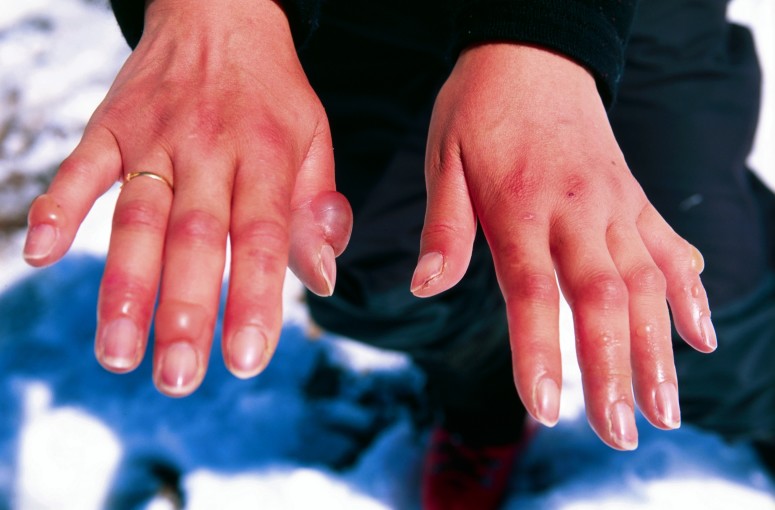
Frostbite damaged hands with blisters. Photo by By Winky from Oxford, UK (Flickr)
Be especially careful with fingers, toes, ears and face. Most frostbites recover well but recovery can be quite painful and the areas may be sensitive to cold for many years afterwards. These areas are also more prone to frostbite again. I know this from personal experience.
Finally, always make sure to eat properly as that too helps prevent frostbite and hypothermia.
Hypothermia
First of all, even summertime in Scandinavia can get very cold, dropping down to zero-degree temperatures. Hypothermia thus is not a danger just for winter, but for any season. Always bring extra clothing to avoid the risk of hypothermia.
As your body temperature drops several side effects occur, progressively more serious. Shivering is the first and is not in itself dangerous. In fact it helps you regain your temperature by forcing you to move. It is a sign that you need to do something to raise your temperature though and should be taken seriously.
More serious however is an increasing confusion and even later a sense of feeling warm rather than cold. This is something you need to watch out for, both in others and yourself, should you ever find yourself in this situation.
This confusion and sense of warmth causes people to remove their clothing, lowering their temperature even further. In some cases people are also inflicted with amnesia and after having gotten themselves to safety, they arrive in such a confused state that they put on a warmer jacket and then return back into the wild no longer remembering what their situation or need was and thus freeze to death.
Drinking alcohol can make you feel warmer, but thins out your blood and in fact lowers your body temperature, thus increasing the level of hypothermia.
And again, be sure to dress properly; wool underwear, a good cap, a scarf and some extra insulation in your pack in case it gets colder than expected. Don’t leave your scalp, neck or wrists exposed.
Snow blindness
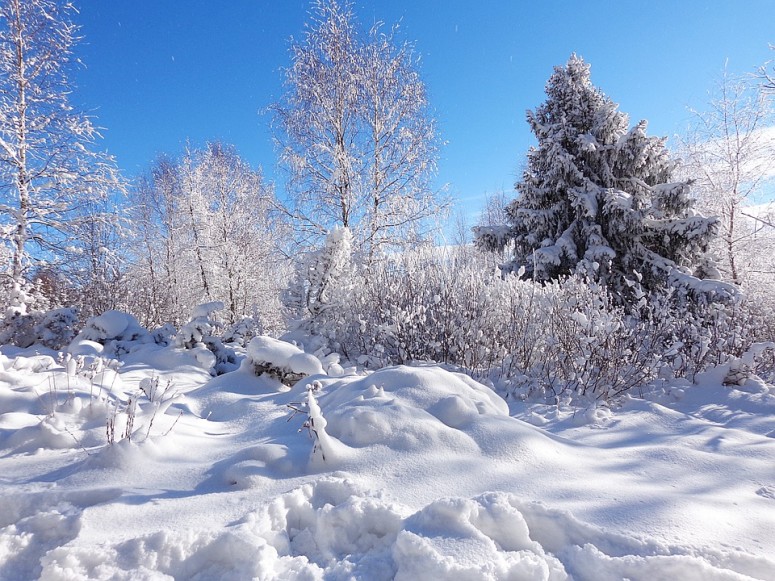
Bright sunlight and snow covered landscape can cause snow blindness which can be potentially very dangerous when hiking
Snow blindness, or photokeratitis as is the medical term, can be a very serious condition, especially at a time where you have to depend on your vision to find your way and of course in particular if you are alone. It is caused by your eyes being over-exposed to ultraviolet light and usually comes with intense sunlight, often in combination with reflected light from snow and ice. It can be quite painful, with a feeling of having sand in your eyes. Other symptoms can be tearing of eyes, twitching eyelids, constricted pupils or a sense of discomfort with bright light. Usually though, snow blindness is not discovered until several hours after the damaging exposure and thus needs to be prevented rather than treated.
Prevention
Snow blindness can be prevented simply by wearing snow sunglasses or goggles. These should cover the sides as well or at least have large lenses, blocking out as much as possible of the direct light.
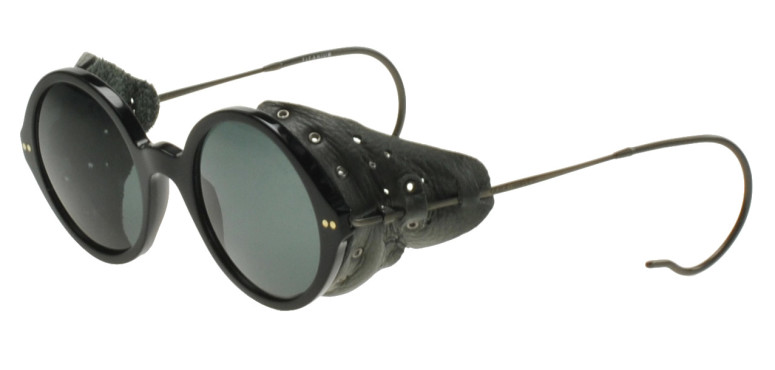
Make sure the glasses or goggles protect properly against UV light and do not choose them by degree of darkness as that is irrelevant since the degree of darkness doesn’t tell how well they protect against UV light. These glasses should be worn even in overcast weather as the clouds do not block UV light. Wearing a baseball cap or a wide-brimmed hat can also help prevent snow blindess.
Traditional inuit snow goggles
The old traditional eye protection worn for example by the inuit, is antler or bone with slits carved into them, and it is a tradition that goes back at least several hundreds of years.
Simple emergency goggles of the same design can be made from dark fabric, cardboard, birch bark or duct tape folded back over itself. Blackening the skin underneath the eyes with charcoal can also further help.
Treatment
Treatment is simple and usually effective within 24-72 hours: Darkness and sunglasses, cool wet compresses and artificial tears can help. Do not wear glasses, contact lenses or rub the eyes. Non-steroidical anti-inflammatory drug eyedrops are commonly used to lessen inflammation and pain.
Moving over ice on lakes, rivers and sea
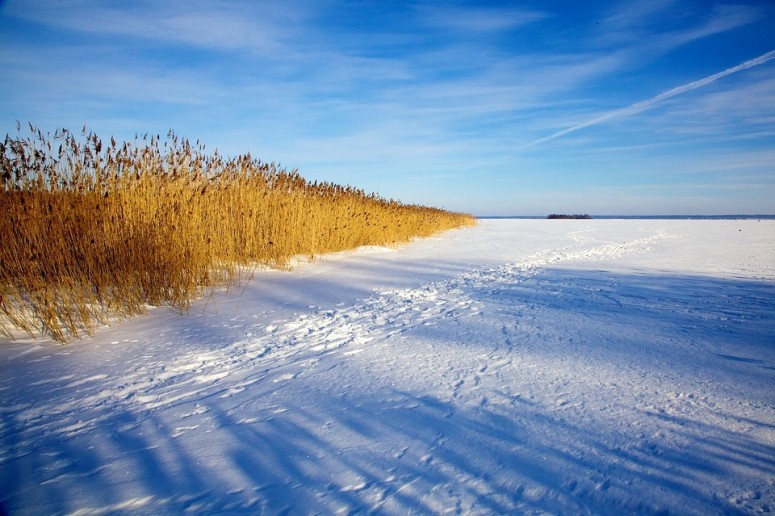
Ice near reed is weaker and you should avoid walking close to it, especially if the ice is still fairly new and thin
Ice on lakes, sea and rivers can be very treacherous and dangerous to tread on, but also offer a much easier path for travelling. Tread carefully though and learn some basics so you can do so with greater safety.
1. BE PREPARED
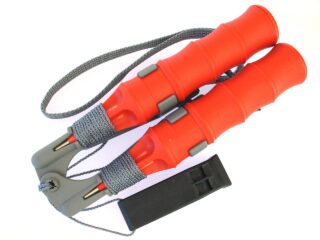
Rescue ice picks with emergency whistle
Preferably you should not cross ice you don’t know and trust well alone. That is not always feasible though, so always make sure to prepare for a worst case scenario where you will have to trust in yourself.
Always wear rescue ice picks around your neck, easily accessible in case you step through the ice. Make sure to have a good emergency whistle around your neck, again easily accessible. A staff ice pick for checking the ice in front of you with is good and an improvised one can also serve well enough. Just bring a nail and some duct tape and carve a stick to use yourself.
Bring extra clothing and cell phone in waterproof bags inside your back pack. The bags can help keep you afloat, and also save you with a dry change of clothes. A bad, or an incorrectly worn, backpack can however cause you to tilt, forcing your head down. A proper skating or floating backpack is therefore preferable. A dry phone of course lets you call for help.
2. WATCH WHERE YOU’RE HEADING AND WHERE YOU STEP
To be safe the ice should be at least 10cm thick. Some state services report ice thickness so make sure to check this before you head out.
If you are travelling with a partner, then don’t walk close to each other. Give proper space so you don’t both fall through if the ice breaks.

Areas of weak ice. Original image by Svenska Livräddningssällskapet, translated by the author.
There are certain areas where the ice is likely to be considerably weaker:
- Sea ice in salty seas is always weaker than lake ice due to the salt content.
- 2. Sunlight can quickly weaken the ice, especially in springtime. Sometimes dangerously so in just 15-20 minutes, and often at first near land, making it difficult to return to safety. Aim for shadow.
- Inlets and outlets for streams, as well as straights and ice near open water will be weaker due to the running water.
- Headland and reef means weak ice.
- Areas with reed or similar water plants will have weaker ice.
- Areas around and under bridges, jetties and piers will be weaker.
- Ice under snow can both get weaker and the snow may also hide weak spots.
Knowing this does not keep you perfectly safe though and you may still be caught by surprise and fall through.
3. GETTING YOURSELF OR OTHERS BACK TO SAFETY
For the first 10-20 seconds the person that steps through the ice will most likely be in shock, in severe distress and unable to speak or even breathe properly. Calm down and breathe slowly or you risk hyperventilating. People can normally take 15-20 minutes in an ice hole, especially if they keep moving to keep their body temperature up. The situation is serious, but you need to remain calm and think.
Aim to return the same way you came. In that direction you know the ice will be strong. If you have friends with you, then call for help and trow your rescue line towards the direction you came. It is easier for them to reach that, than for you to reach a badly thrown line. Make sure the line is secured around you, preferably around your waist so you get help being lifted out of the hole. Then use the ice picks while you kick to pull yourself out of the hole. Ski poles can also be used if you don’t have ice picks. If so, grip them nere the points just above the basket.
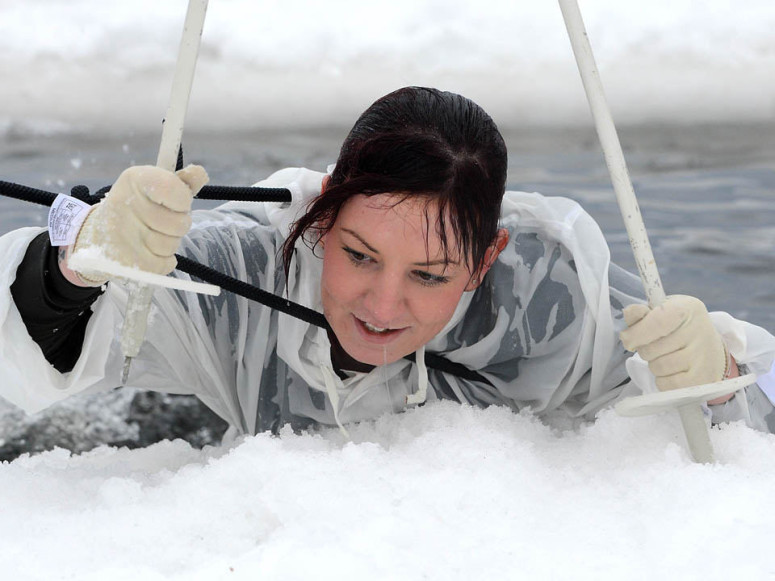
Using ski poles to get out of an ice hole. Photo by Royal Navy Media Archive
As the ice around you is weak it is likely to break even more as you try to get out. Aim to spread out yourself over as much area as possible so you don’t put all your weight onto a small area. If possible, use skiis, branches or anything else you can find to spread your weight.
If you need to assist someone else, be careful to not end up in the same situation. A rescue line, a jacket or shirt, skiis, a tree branch or whatever else you can find to extend towards the person who is in need of help should be used. Again, spread your weight as much as possible, as flat on the ice as the situation allows for.
This video shows the procedure of aiding someone, as well as getting up using rescue ice picks quite well.
Afterwards change clothes and follow the advice already given earlier on hypothermia.
That’s it. Learn these things by heart so you can keep yourself and those near you safe.